
After three years of gradually working on our kitchen remodel, we are now so close to being done! I know I gave you a glimpse and briefly mentioned our new cabinetry and countertop - the project is nearly complete and I cannot tell you how much I am enjoying the additional room in our kitchen! In some ways I'm glad our remodel has taken so long, because it literally took Justus and I about that long to figure out how to work with the original footprint in the kitchen and still create additional countertop space.
BEFORE:

I believe this before picture was taken about two days after we moved in. (I'm so thankful for before pictures so I can be reminded of how far we have come!) The kitchen, although adequately sized, was so awkward with two high-traffic doorways and cabinetry had only been added on the far side (not pictured). That left a good amount of space empty, although it couldn't be fully utilized without blocking the doorways.
AFTER:

Building a cabinet for our refrigerator was a major improvement and when Justus built that, it was with the intention of using it to add new cabinetry and countertop space on that wall. Now it seems so simple, but we puzzled over how to work with the refrigerator, doorways and window for a long time.

Justus started by framing in the new cabinetry. He used a kreg jig to join the wood and prevent nail holes from showing on the outside of the cabinet.
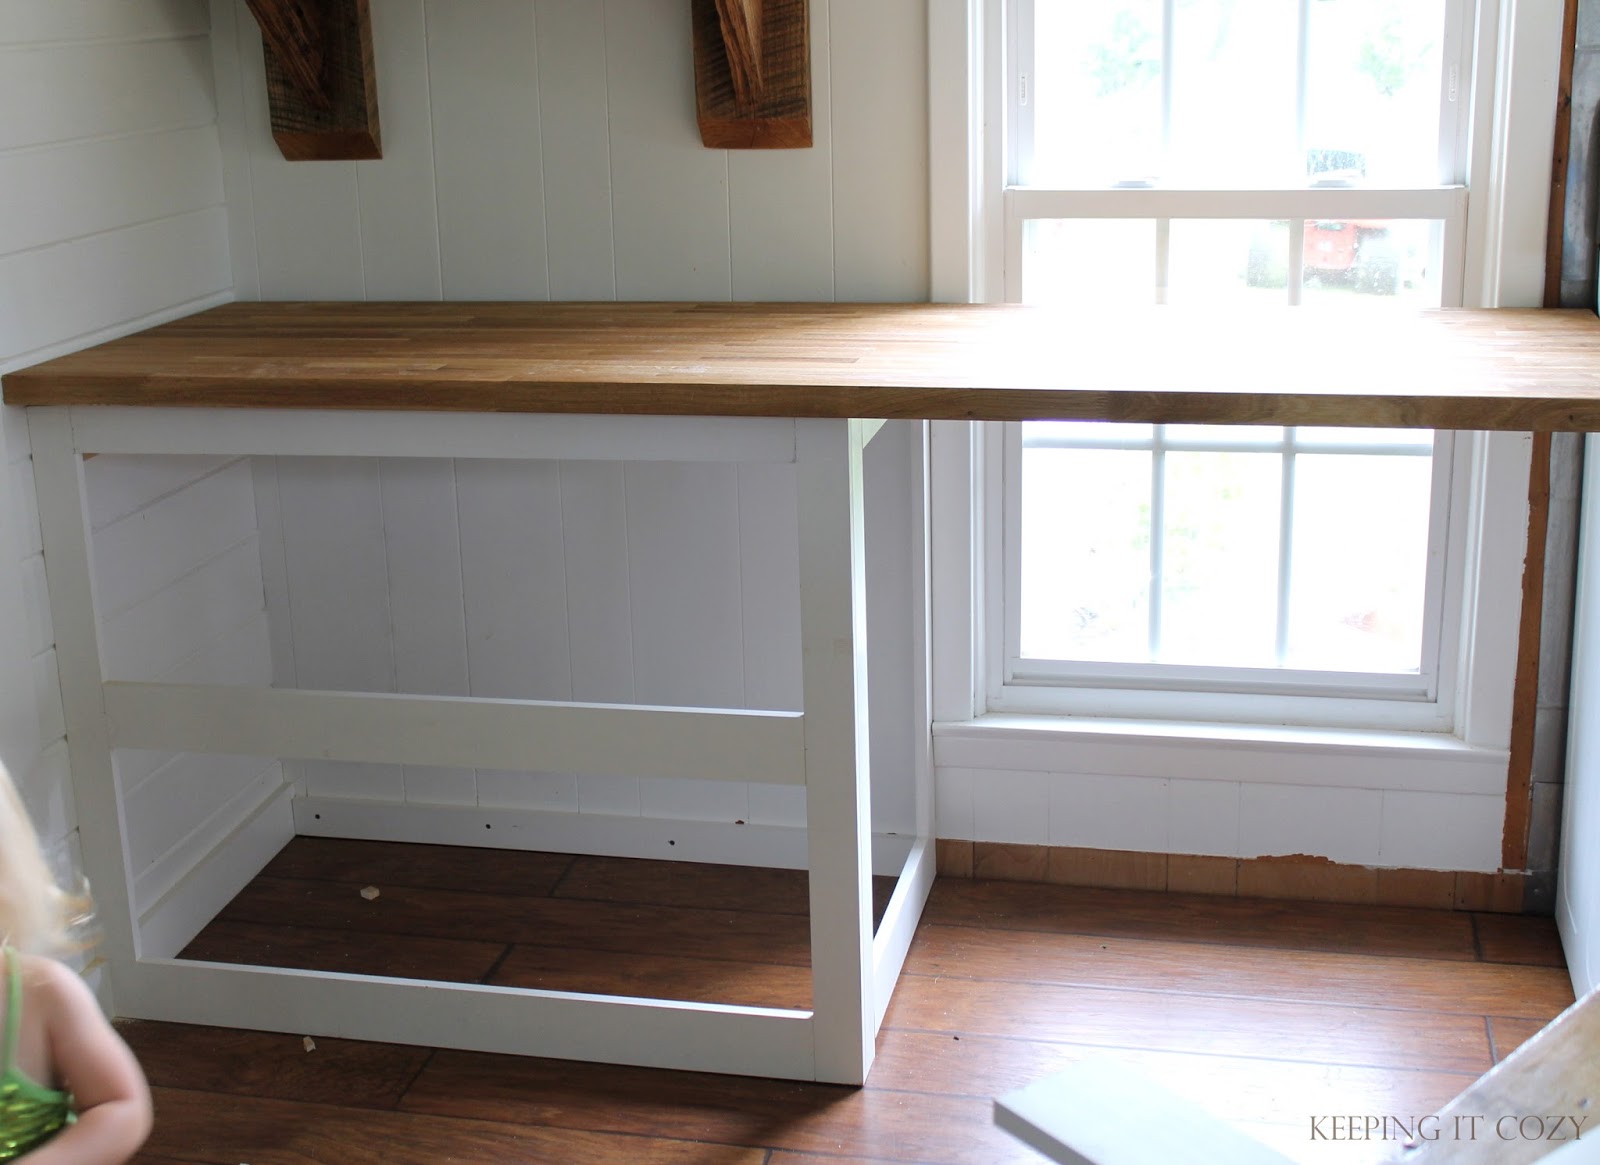
To add a functional amount of countertop to this wall, we opted to cover the window with countertop, but leave underneath open so that we could still let all that wonderful light in. That meant framing in beside the right of the window next to the stove area too so that it created a well proportioned unit and provided support for the heavy wood countertop.

Once the framing was complete, Justus added shelving and siding with pine planks.

Here is a picture of what the unit looks like underneath the window. I love how Justus added the side supports and finished the look with the planking, which I painted white. Eventually we'll add a stool or bench here.

I really wanted the lower cabinet to be left open with shelving. I loved the idea of having well used items handy and also bringing some additional color and interest into our very white kitchen.

I had a really difficult time figuring out what to put in the shelves though! More than anything, I wanted this area to be very functional, not just pretty. I remember when we moved into our house, my mother-in-law came out and helped me unpack our kitchen and dining room. Here we were with enough contents to fill cabinet space twice of what we had... I ended up getting rid of so many things and storing other items away that then ended up rarely getting used. In the end, I moved my cookbooks to the bottom shelf and used the milk crate to store dish towels. (The shelves are so deep I had enough room to store infrequently used items behind the crate.) On the top shelf I put all our everyday Fiestaware serving pieces where they are easy to grab and use. Then I went through the entire kitchen, cleaning, organizing and ending up with so much extra space - too fun!

After Justus finished this project, I hesitated in even asking him if there was a way to add an electrical outlet on this wall, but I think he must have known how badly I wanted a little baking area (smile). He added an outlet on the wall of the refrigerator cabinet so that I can now leave my mixer out and do all my baking here. Oh, it's wonderful not having to dig it out of the cabinet every time I want to use it!

After moving the cookbooks and adding blue dishes underneath, I then focused on bringing in a little more blue accents on the upper reclaimed wood shelves. It actually started to remind me a little of the kitchen in our previous home, where I decorated with so much blue! I remember in my before-marriage days when I dreamed of having a blue kitchen (smile).
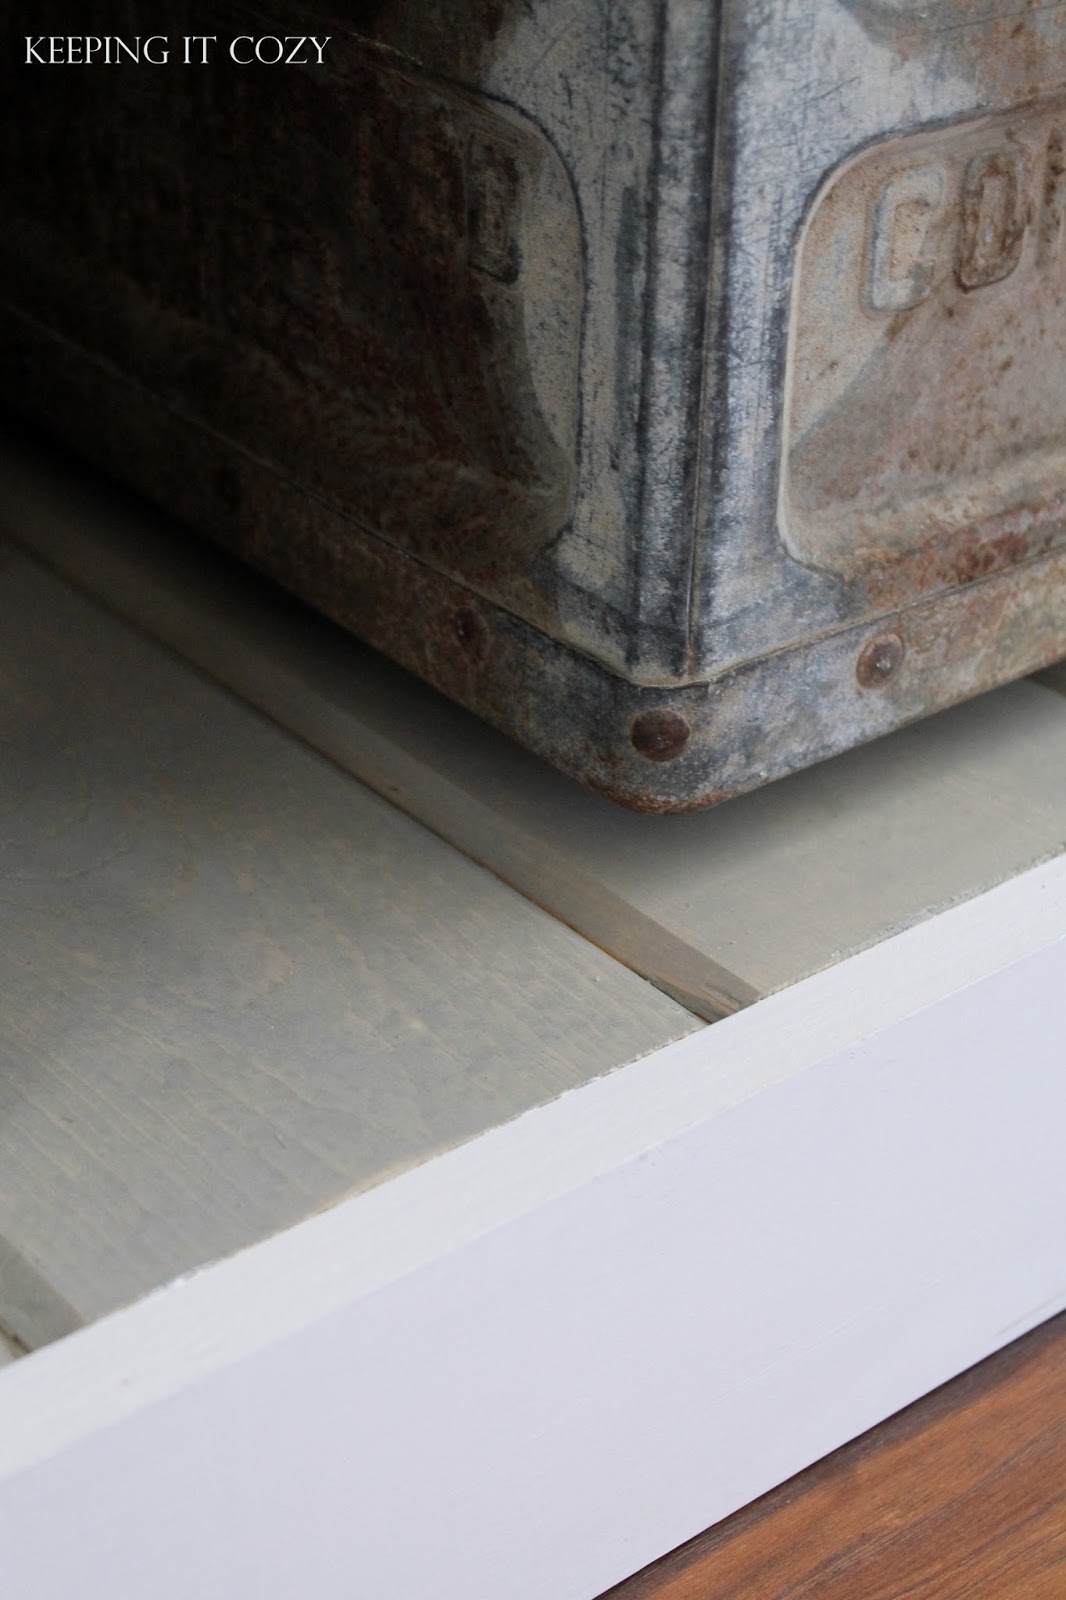
Instead of painting the interior shelf planking, I stained it. The reason I didn't paint it is because I didn't want to have to worry about scratching the paint when I frequently removed items. But I didn't want to use a dark stain - I ended up using the sunbleached wood stain that we used on our porch furniture. I know it's kind of a different look, but I like the color and not having to worry about it. We added a coat of poly to protect from water as well.

A closer look at the sides of the cabinet... I'm in love with this pine planking. This also happens to be Huck's favorite napping spot, as you can see.

I was definitely getting some looks from him by disturbing his nap time!
Thanks for listening to me ramble on... I hope you are having a great week!
Update: To see the finished kitchen, click here.
Thanks for listening to me ramble on... I hope you are having a great week!
Update: To see the finished kitchen, click here.
It looks beautiful - I just love love love the crisp white with the wood - and it's was perfect to leave the bottom open like that - what a gorgeous spot!!!
ReplyDeleteXOXO
What a great addition for your kitchen. Everything looks so good.
ReplyDeleteHuck is so cute - that's the look I get when I bother Waldo and Lili at nap time.
Have a great weekend.
Mary
BEAUTIFUL!!!! love the openness! looks amazing and well, cozy.
ReplyDeleteLuvly! I am a fan of the open cabinetry and shelves. Things used everyday easily accessible and pops of sweet colour.
ReplyDeleteAWESOME- wow, what a GREAT job you two have done - all that storage and a much smarter use of space. Brilliant and very well done, bravo to you both!
ReplyDeleteYour dog is sooooooooooooooo adorable, you should put a doggie bed right there for him - so he can be close but out of foot's way in the kitchen. My cat would LOVE that sunny spot too! Love it!
Looks great! So nicely done. Love your pooch!
ReplyDeleteWow it looks great !
ReplyDeleteHi Andrea, I love it. So lovely. That shelf is perfect. Huck is so big. So sweet as always.
ReplyDeletexoxo
Lisa
leeshideaway.blogspot.com
That looks great, Andrea. Your dog is so cute.
ReplyDeleteThis comment has been removed by the author.
ReplyDeleteOh! My! hubby is so talented. What a great addition to your kitchen. The two of you planned it so well, it's such a great way to use the space. I love how simple you've kept it both in color and display, it blends perfectly with the other half of your kitchen. I can't help but think that Huck is wishing for a new blue and white colored cushion for his new sunny nap spot! Huck is a adorable by the way. How old?
ReplyDeleteThank you, Robin! Your sweet words mean so much. :-) Huck is about ten months old now, I believe... he has grown so fast! :-)
DeleteThere are not enough words to say how much I love what you've done!!!
ReplyDeleteLove this! I love all your containers on the shelves too!
ReplyDeleteAmber @
Dimples & Pig Tales
It's so charming and lovely. My favorite part is that you guys did this all yourselves! Totally unique.
ReplyDeleteI absolutley love your kitchen! I use it as my inspiration photo for our new farmhouse kitchen!
ReplyDeleteI love it! It gives me great ideas for our kitchen someday soon!
ReplyDeleteHave a great weekend. P.S.I plan to make the cookies you posted last week. :-)
So gorgeous! I am so happy for you that it's almost done. I went through the 3 years of reno on my 2nd bathroom - such a long haul but I adore my bathroom! I'm sure you feel the same way about your kitchen. And it is beautiful.
ReplyDeletexox
Beautiful! I love the old crate!
ReplyDeletebeautiful, andrea! love the enclosed fridge, and the sunny spot for huck! happy weekend!
ReplyDeleteIt all looks so nice!
ReplyDeleteA thumbs up on the stain! (Well, all of it, but I really like the stain on the bottom of the shelving.) It looks like a wonderful place to hang out and get some work done. We have two little doggies who love to find a sunny spot, too. :-)
ReplyDeleteIsn't it amazing what you can do with a space if you take your time and think things through? This turned out perfect. Hope all is well and school is off to a good start. Enjoy the weekend!
ReplyDeleteHi Andrea! Original, clean, crisp lines make me ooo n aww over your creations! Brilliant! Thanks for sharing this with us! We are redoing our kitchen slowly! Love what you did!
ReplyDeleteEverything is perfect! I love it all, especially the cute little creamer to tie your colors together, something so small compliments it all. I also love the stain on the interior shelves, it made me think of your pantry. You two are so creative and do an amazing job! I know you love it, I sure do :)
ReplyDeleteI love it! I'm a big fan of white kitchens with tons of light and you did a great job expanding your work area without sacrificing the light.
ReplyDeleteHere's what I wish.....I would LOVE a post about BOTH sides of your kitchen. I know you have other posts about your kitchen, but now that it's done (???) it would be so nice to show my husband my favorite kitchen on the planet all at once. It would be easier for him to "catch the vision". ;-)
ReplyDeleteThank you so much for your kind words about our kitchen! I will definitely do a post about the entire layout... we still need to finish the stove area... hopefully it will be all complete soon! :-) Have a wonderful week.
DeleteOh my, I thought for a moment there our Buffet had been dog napped! But no he is safely beside me. Love your kitchen and your family is adorable.
ReplyDeleteIt looks simply wonderful. I just love all the wood. Very light and bright though and really like the stain you used!
ReplyDeleteI completely LOVE your up-do! It's gorgeous!
ReplyDeleteYour dog doesn't look too thrilled with with his photo being taken! haha!
Have a great weekend,
Tammy
I love how this turned out! Look forward to seeing what's next! Have a great weekend!
ReplyDeleteYour Huck is a good looking fella even if he is ticked off with you taking his photo.
ReplyDeleteLove Leanne
I love your home, it has so much character ~ keep adding more character..looking forward to it.Have a wonderful weekend.
ReplyDeleteI'm new here from Cozy Little House and think what you have done in your kitchen is just wonderful! I think it is perfect that you built that beautiful counter in front of the window -- that's where I would always want to work! Also congrats on the feature in the magazine. I've never seen that, but I'll have to check it out!
ReplyDeleteHow beautiful. I'm curious what brand of mixer that is on the counter? I don't recognize it at all. Oh, and the photo of your poodle reminded me of an absolutely wonderful book I read many years ago "Fifty Acres and a Poodle" by Jeanne Laskas. Not sure if I have the author's name spelled correctly, but I do have the title right. I never knew how amazing and intelligent Standard Poodles are until I read that book. It's very heart-warming and I suspect you will enjoy it, too if you can find a copy, I sure enjoy your blog!
ReplyDeleteThank you, Peggy. My mixer is a Bosch... I've had it for over nine years now and it's still going strong! Thank you for the info about the book - it sounds wonderful and I will check into it. Have a great week!
DeleteThe new counter area looks wonderful. Love all the details like the planks and wood shelves. The open area with all the light from the window is gorgeous.
ReplyDeleteBeautiful transformation! LOVE your counters and open cabinets!
ReplyDeletexx
Anne
Pretty.
ReplyDeleteI was thinking that was the perfect spot for the perfect pet bed and there was your poodle. I have a toy poodle and he would like a spot like that too.
Great kitchen, so pretty and well thought out. Love the dark wood floors.
ReplyDeleteJust beautiful...you should be so proud of that wonderful project!...and looks like Huck loves it too!
ReplyDeleteGreat !!! Very Nice Post. This information will increase more and more people to know about all kitchen furniture. I use to do buy online Kitchen Furniture as its time saving.:)
ReplyDeleteNice pics.
ReplyDeleteMaterials should be non destructible.
Why did you went for wood? Granite should have been your choice.
But this also looks good :)
Beautiful as always! In our old house we changed the door on our refrigerator to open the other way. Much easier to place things on the counter. Just check on top and see if there is a spot for the hinge, I think most have it. The hardest part was finding the right screwdriver. Easy peasy :)
ReplyDeleteWhat did you use for flooring in the kitchen? Ours needs new floor and I am trying to figure out what to do.
ReplyDeleteHi Shanna! We used wood laminate from Lowe's... it is very affordable and SO durable. It can stand up to anything the girls do, spill, drag, etc! My parents also used wood laminate in their house... from Lumber Liquidators. Hugs to you! Maybe we'll see you someday... now that we're a little closer. :-)
DeleteI love how you used stain instead of paint inside the shelves! Great idea! Susan Branch recommends painting wood fences with white opaque stain instead of paint because if just fades - it does NOT peel off and have to be scraped when it needs a new coat!
ReplyDeleteIs there a particular butcher block from IKEA that you would recommend over another? Could you provide the specific style/name?
ReplyDeleteI would go with a SOLID wood butcher block. I think some of Ikea's butcher block now has a particleboard core with a top layer of wood. It looks like the Hammarp might be a good option. Ours from Ikea is solid oak and my parents have solid birch in their kitchen - both are beautiful.
DeleteLovey. Did you know you can easily switch the fridges' door handles! It will open into room and counter instead of wall. Makes for a happy cook!
ReplyDeleteDid you know you can switch fridges' door handles? It will open correctly into kitchen and counters, not into the wall. Lovely work.
ReplyDelete