
When I saw these painted roman shades at Dear Lillie I knew I wanted to make some for our bedroom. But before I spent the time (and money) making the shades, I wanted to try out the paint technique first. So I decided to make a table runner for the entryway table in our living room with some leftover drop cloth I had. Let me show you how... it is so easy! (I followed this great tutorial.)
SUPPLY LIST:
Drop cloth
Acrylic paint
Foam brush
Tape measure
Pins
Painter's Tape

Begin by cutting your drop cloth fabric to desired measurements (don't forget to about about 1 1/2" to all sides to allow for hemming). Then pin where you want your stripes. I wanted my main stripe to be approximately 2" wide, so I measured half the width of my runner, and pinned 1 1/2" on each side of the middle. (Pin to pin is 3".) I did this on each end of the runner.

Using painter's tape, tape from the center of one pin to the center of the other on the opposite end. (You can see that I held down the drop cloth with the leaf from our table to keep the fabric from moving while I did this.) Be sure the tape is firmly adhered to the fabric.

Now you'll do the same thing for the two small stripes on each side of the wide stripe in the middle. I wanted these two small stripes to be 1/2" wide, so I pinned 1" from the edge of the tape.

Once you have everything taped, you are ready to paint! I purchased this acrylic paint at Wal-Mart for $1 and I used a cheap foam brush I already had on hand. Paint using up and down strokes until all areas between the tape are covered.

Now let the paint dry. It will dry very quickly!

While I was waiting for the paint to dry, I snapped pictures of this little girl giving her daddy some love before bedtime. (smile)

Remove the tape and breathe a huge sigh of relief that the painter's tape worked so well!
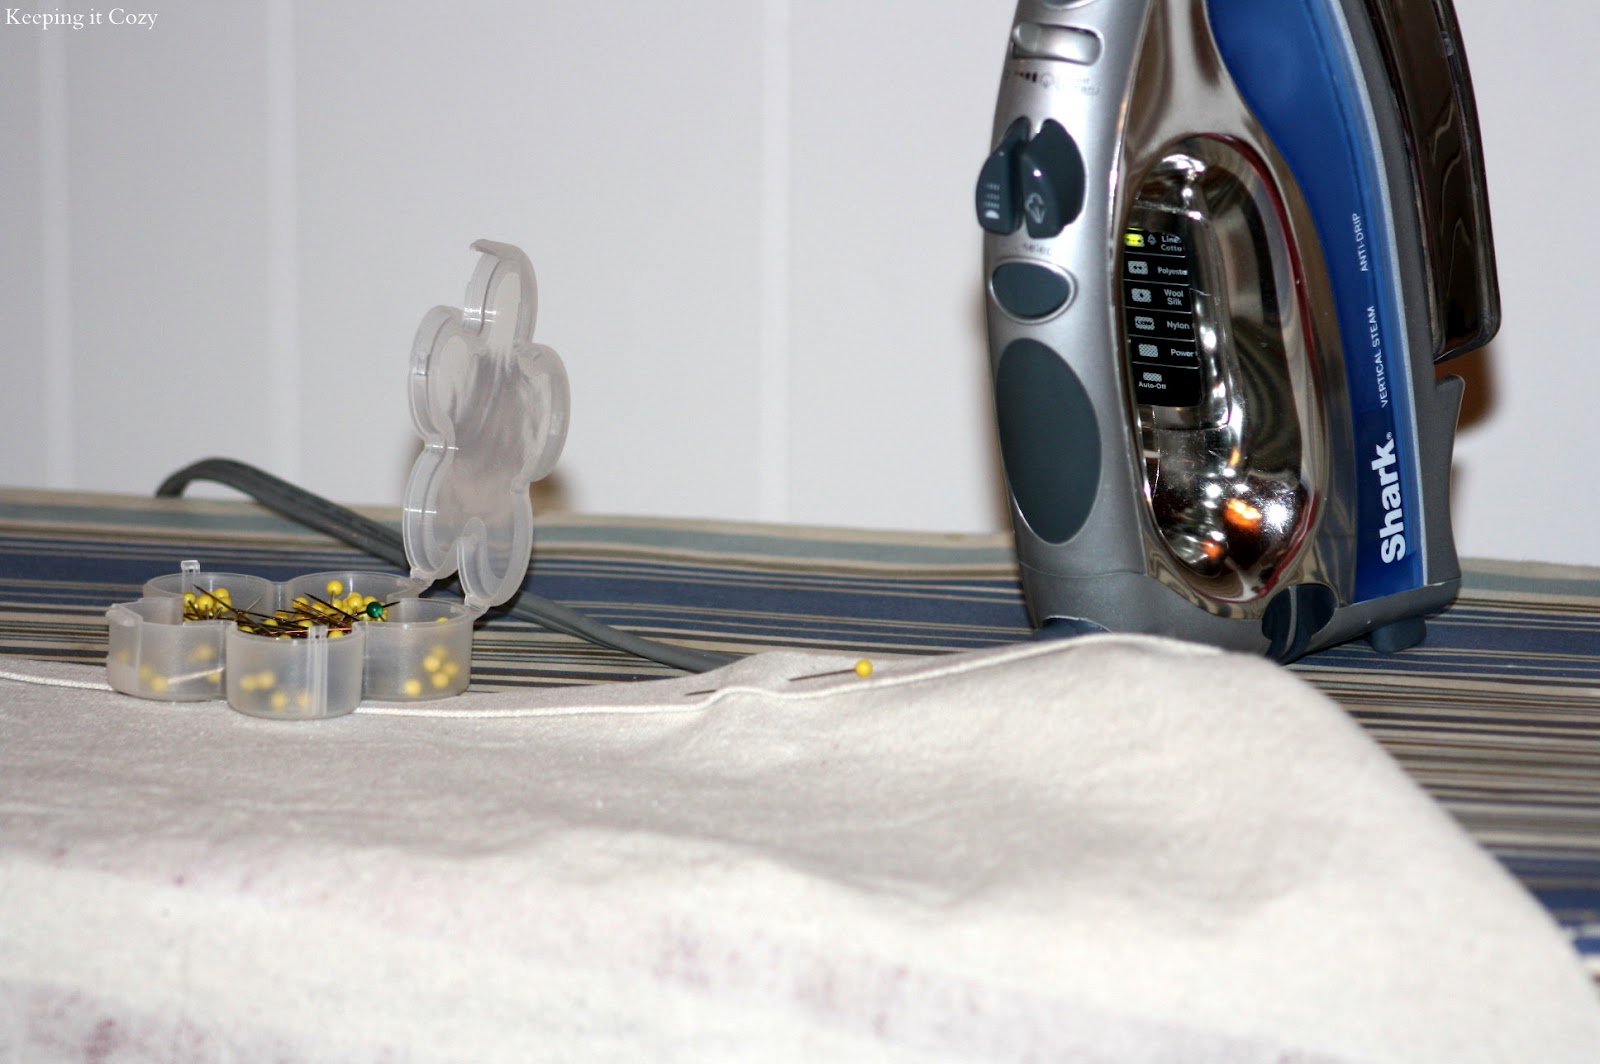
Prepare to hem the sides of the runner by folding the raw edge onto the wrong side of the fabric. Now fold it over again, iron and pin in place.

I didn't take a picture of this step, but I wanted my corners to be hemmed at a point, so I messed with the fabric until the corners met in the middle and pinned. (You can tell from the picture above I am such a novice when it comes to sewing!)

Sew all sides and your runner is finished!

I love how this simple runner turned out. I will be attempting to make the roman shades sometime using this same technique, so stay tuned. (smile)
Have a wonderful weekend!
love your runner. Looks great!
ReplyDeleteLaura
Great job. I love it!
ReplyDeleteI especially love the photo of your little one with her daddy. Such a sweet picture.
Blessings, Amy
Table runner came out really well. Thanks for sharing the tutorial on how you did it.
ReplyDeleteThat looks fantastic! I never would have thought to do that in a million years...thankyou so much for sharing, I will absolutely be trying that out :) I'm now your newest follower!
ReplyDeleteCas x
Popped over from Kim's party. Just love the runner. Great idea.
ReplyDeleteI'm here from Kim's party too. Love your sweet runner and your beautiful home. Great blog. So happy to be a new follower. Pop over for a visit sometime!
ReplyDeletexoxo,
Kim
I LOVE it! You did a fantastic job! :)
ReplyDeleteThank you so much, Roeshel!
DeleteThat is really cute:) I'd love for you to share this @CountryMommaCooks link party this weekend.
ReplyDeleteFollowing you from Kim's-love the runner too! Stop by for a visit when you get the chance!
ReplyDeleteI love it! I'm a giant drop cloth as fabric fan and this gives me yet another idea ...
ReplyDeleteThanks for linking it up at our party!
:)
Linda
www.itallstartedwithpaint.com
I absolutely love this and am pinning it! What a beautiful look..and your sewing looked fab to me...from one novice to another. :)
ReplyDeleteKarah
That is beautiful, I know you will do a beautiful job on the shade, I look forward to seeing it.
ReplyDeleteHugs, Cindy
What a great idea!! I love grain sacks and this is a fun take on one.
ReplyDeleteAnother great Cinch idea!
Kelly
What an absolutely fabulous project! I love it! I need to make one of these for my kitchen table! Thanks for the inspiration and thanks for linking to our party!
ReplyDeleteblessings,
karianne
love this!
ReplyDeleteI love your tutorial! Are you able to wash the runner without the paint chipping off? When I've stenciled onto fabric I have always used textile medium for that reason. But, if it's not necessary I won't bother with it.What do you think?
ReplyDelete