Tuesday, December 24, 2013

Happy Holidays


Wishing you and your family a Christmas full of love and joy and a very happy New Year.

Thank you for taking the time to read this year and always for your kind words - I'm so thankful for friends far and near.

Happy Holidays With Love,
Andrea

Monday, December 16, 2013

Reader Recipe Feature: Winter Spiced Cocoa


 This is a recipe that was sent to me back during the summer, and even though were in the midst of one of the warmest months of the year, I looked forward to trying this cocoa mix once it cooled down.  Well, here we are in the middle of December, and I'm just now getting around to trying this delicious spiced cocoa! I couldn't wait to share, because not only do we still have a few cold months ahead, but I think this would also make a fabulous holiday gift.


 A reader named Patty, who also happens to be extremely sweet, kindly shared this recipe.  She told me that as soon as there is a hint of fall in the air, she makes a large jar of this as it is so good during the winter months.  I have a feeling we'll be doing the same now!


Patty doubles the batch, but only makes one at a time so that it mixes well in the food processor.  She then stores it in a mason jar.

I think what makes this cocoa a little special is that it includes so many wonderful spices, even cardamom, which Patty loves (and me too!). 


 Winter Spiced Cocoa Recipe:

2 cups powdered milk (Patty recommends Organic Valley brand)
3/4 cup vanilla sugar (recipe will follow)
1/2 cup natural cocoa (baking cocoa)
1/2 cup non dairy creamer powder (such as Coffee Mate)
1/2 tsp ground nutmeg
1/2 tsp ground cardamom
1/4 tsp ground cloves
1/2 tsp cinnamon
1/2 tsp ground ginger

Put all ingredients in food processor and pulse until mixed well. Store in air tight container. Mix 3 Tbsp. to a cup of very hot water.

Vanilla Sugar Recipe:

1-2 vanilla beans
2 cups sugar
Split and scrape the vanilla beans. Mix into the sugar and bury the pods into the sugar. Let the mixture sit overnight before making the cocoa for the first time.  (Patty makes a double recipe to use for other recipes too). Store in a tightly covered jar (keeps for a very long time).


Once a batch of the cocoa is made, it is so easy to add it to some hot water.  I topped ours with homemade whipped cream and a little cocoa too (smile).  The flavor of all the different spices is so delicious.


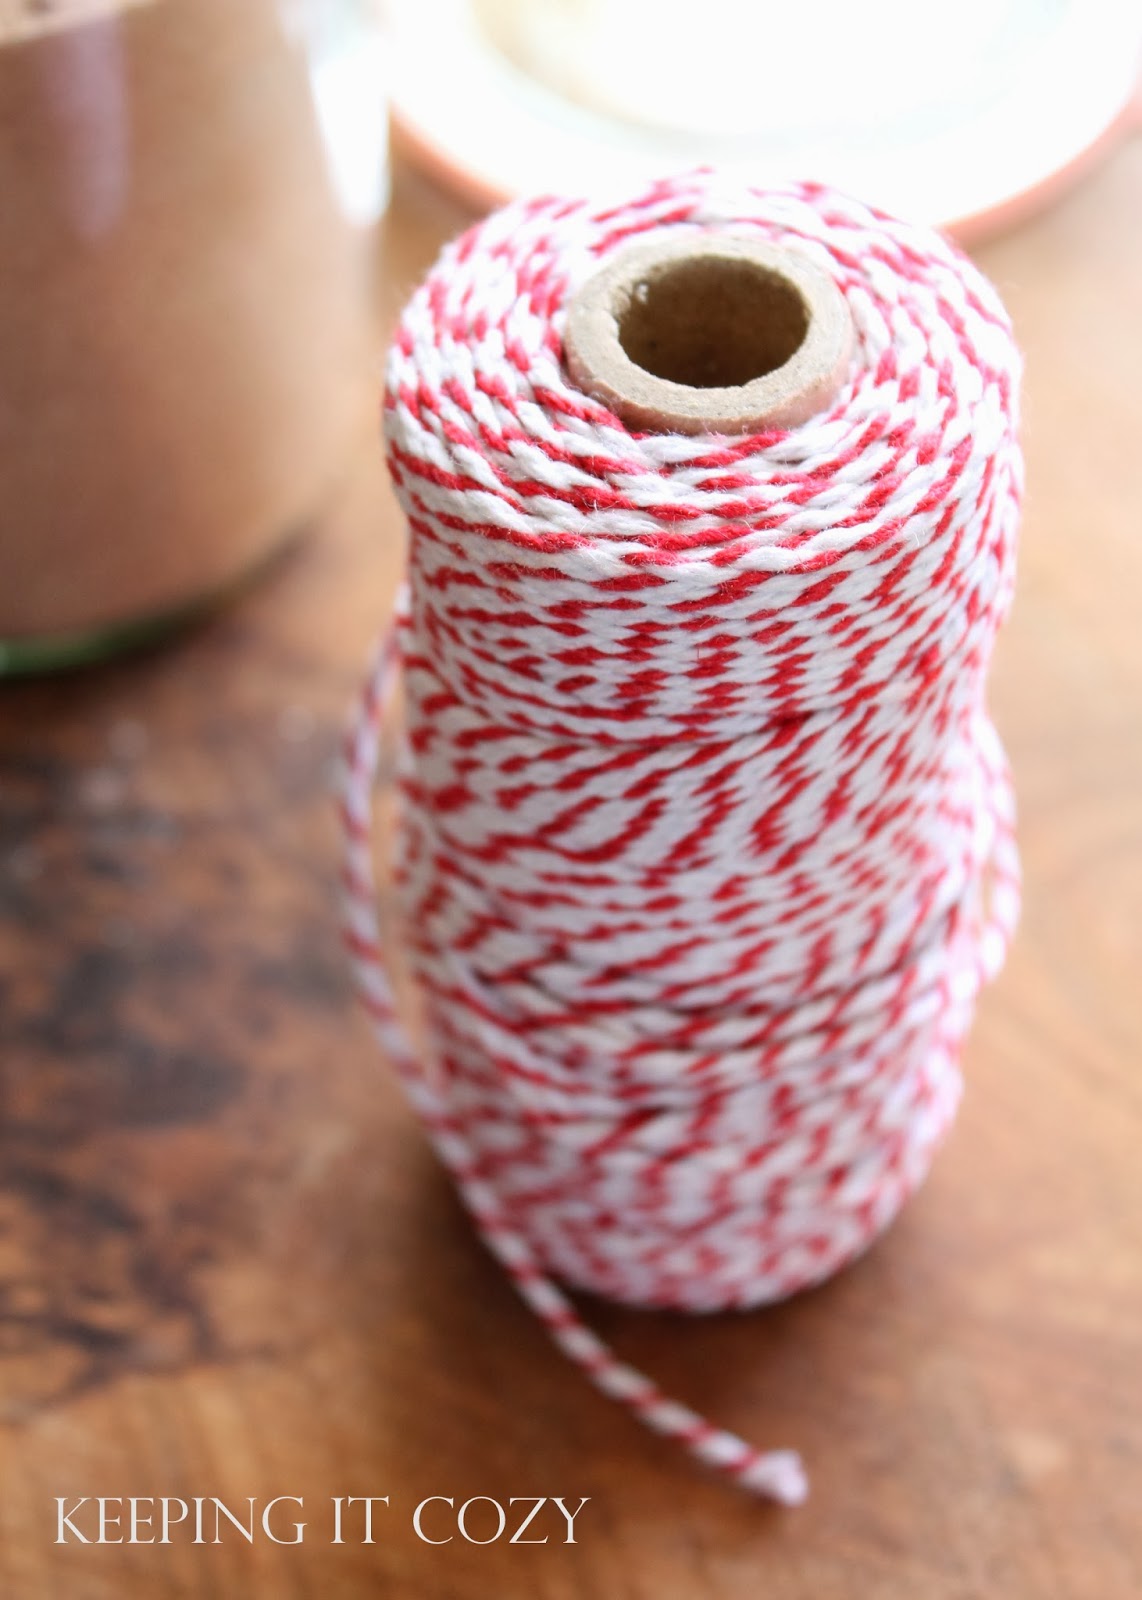
 I love the idea of packaging the cocoa mix to give as a gift.  I put some in a jar and wrapped it with bakers twine and a tag. 


 I have a couple rolls of bakers twine, but I like this thicker cording better, especially when using it to wrap gifts. 


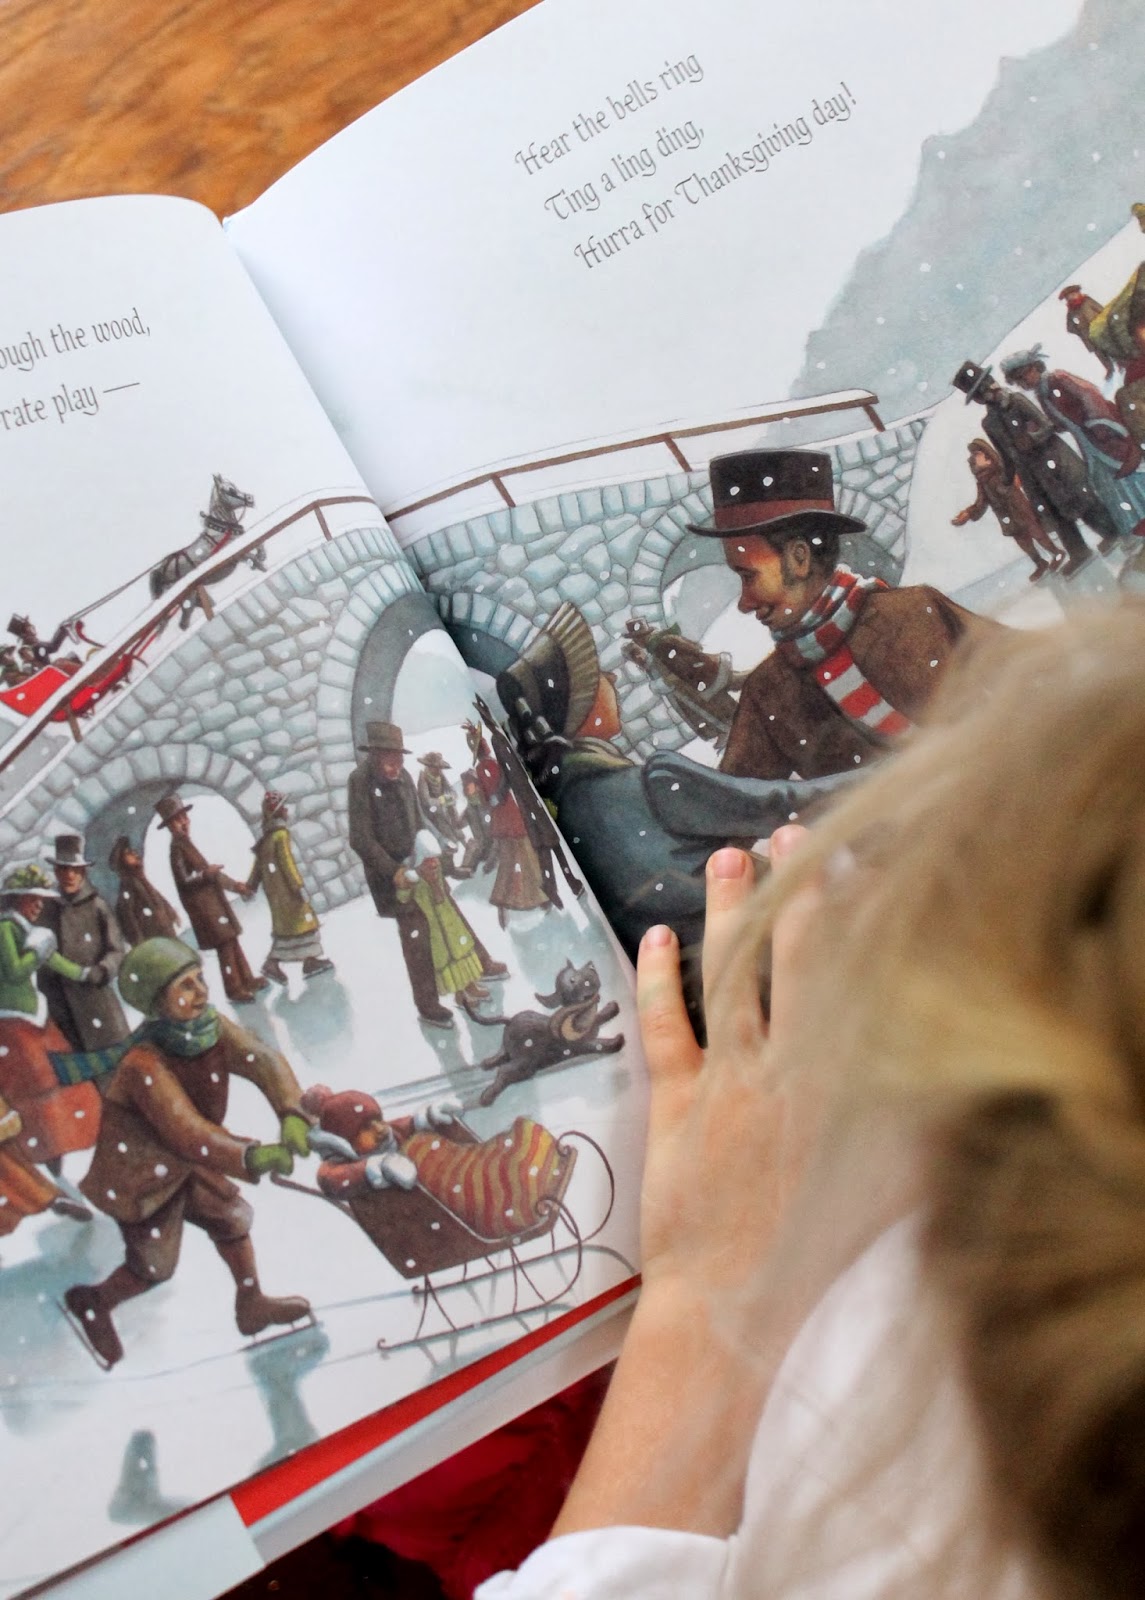
Jillian has been begging me to buy cocoa for a long time... I kept promising her I would make some for us to try.  

So there were definitely some squeals of excitement when they got up from their nap and discovered hot cocoa waiting for them (smile).  Thank you, Patty, for sharing your recipe with us! I hope you all have a great week!

Thursday, December 12, 2013

A Farmhouse Christmas


Today I'm sharing a little of our home decorated for the season, mostly just photos.  My decorating is simple as usual, but I always love this time of year, bringing in natural elements and fresh greenery and of course, adding touches of red!  As it's been quite busy around here lately, we're still adding a few touches here and there... but more than anything, the girls and I have had a lot of fun just working on some wintry crafts and making a lot of pom-pom garlands, which I'll have to share soon (smile).  

I am sure you are looking as forward to Christmas as I am... spending time with loved ones and special memories together.

Anyway, here are a few peaks around our farmhouse.  I'm joining eight wonderful bloggers in sharing some of our farmhouse style and I know you will love touring their homes (links at the bottom of the post)!

The Living Room


The Dining Room


The Kitchen


The Front Porch


Following are links to the other home tours ... I know you will enjoy visiting them and their homes as much as I do!

Thanks for reading and I hope you have a wonderful day!


Monday, December 9, 2013

Porch Greenery


With the cold weather and rain we've been having, it suddenly felt past time to remove the pumpkins from our porch and add a few winter touches!  Off to the farmers market we went and home we came with fresh wreaths and greenery. 


The wreaths were so beautiful and fresh in their simplicity that I left them just the way they were.  
(We used removable 3M hooks on the porch to hang the wreaths.)


 The farmers market had a lot of greenery clippings and kindly invited us to take as much as we liked, so I had plenty to add here and there, inside and out.  I love its crisp wintery scent.


 With it only cold on Saturday, we bundled up and ventured outside for some fresh air.  I decided to try my hand at making a wreath with all the extra clippings I brought home... well, needless to say, my amateur attempt didn't look even a fraction as lovely as the ones we bought, but it was a festive enough touch for the back of the house (smile).

Happy December!


Tuesday, December 3, 2013

Bathroom Update


 I hope you all had a lovely Thanksgiving!  Ours was wonderful and I suppose I'm still basking in the memories... I haven't even removed the pumpkins from our front porch yet (smile).

We recently completed a fairly inexpensive and quick update to our bathroom.  We had company staying with us over the Thanksgiving holiday and it provided a great source of motivation to get everything completed!

BEFORE (during a walk-through before purchasing):


 AFTER:
 

A couple years ago we made a few improvements to the bathroom but other projects took priority and we finally got around to replacing the ceiling, walls and fixtures.  

I'm going to be honest here and mention that while we love our old farmhouse, there are times that it can be very exhausting and frustrating (especially for my husband).  Nothing is square, and there are always obstacles when working on any project.   The biggest obstacle in this room was installing a bathroom fan, believe it or not, a bathroom essential that had never been added.  Justus finally purchased one of the smallest fans he could find because of the lower ceiling and because we were unable to vent it through the roof.  After dealing with excess moisture in the room, we were pretty thrilled to have a bathroom fan, even if the placement wasn't ideal! 


Justus pretty much made every decision on the bathroom, and I really love what he did, even down to the mirror choice.  We both wanted a wood ceiling (too many years dealing with sheet-rock peeling paint, in both houses we have owned) and Justus chose pine planks, which I coated with poly to protect from moisture.  Although wood ceilings tend to darken a room quickly, the natural pine really kept the room light and fresh. 

Justus installed wood beadboard walls to match the rest of the house, which we then painted white.  We were so happy to say goodbye to the faux lineolum walls! 


Really the only choice I made for the bathroom were the light fixtures.  I wanted to find something that looked just right and I spent too much time searching online before finding these Martha Stewart fixtures from Home Depot.  I loved them even more when Justus brought them home from the store and installed them.  I love the look of a single sconce on each side of the mirror but I was very nervous that it wouldn't let off enough light; I'm happy to say that is not the case at all. 


 Because the bathroom is small, we kept it as simple, light and uncluttered as possible.  Justus made a towel peg rack from some reclaimed wood and we hung a single picture. 


We absolutely love these oak shaker pegs from Lowe's and have used them for a couple projects now.  And hanging towels from pegs is so much easier than a towel bar! 


 Eventually I'd love to repurpose a dresser into a sink here, but that's a project for another day.  Our next big project is putting in a bathroom upstairs (eek)! 


Lastly, a look at the other side of the bathroom where Justus built some cupboards and shelves last year.  (You can read that post here.) 

And while we're on the subject of the bathroom, my highlight of the week is having an almost potty trained little two year old (Rosetta)!

I hope you have a great week.  Thanks for taking a little tour of our bathroom!

Tuesday, November 26, 2013

Happy Thanksgiving


 Thanksgiving is almost here... one of my favorite holidays.  Our Thanksgiving holidays are spent each year with my in-laws, out at the family "farm" in Alabama.  It's a large southern gathering where the family all contributes towards the meal and there's a lot of hugs, laughter, and everything that comes with family spending time together. 


This year I'm making cranberry sauce (this recipe is my favorite), sweet potato casserole and maybe a chocolate pie.  Since my family moved here, they also spend Thanksgiving holiday with us and my in-laws and this year our special friends we have visiting will be joining us all too.  I'm so thankful we can all be together on such a special day. 

Anyway, obviously I won't be setting a Thanksgiving table this year, but I think that if I was, it might look something like this (smile).  This fall I've loved all these neutral tones and warm textures.


 I dug out my craft box to stamp a simple tag to hang on a pinecone (spray painted lightly with gold glitter).  It's been a while since I've done a simple little craft and it was fun, even if it did take less than five minutes.  The girls had even more fun making their own "name tags" too! 


 (This is my little craft caddy that I keep tucked away in a cabinet... Justus has been known to use the bakers twine as string for outdoor projects!) 


This week we've been reading every Thanksgiving book we have... anticipating the upcoming holiday and the new memories made. 

I hope you have a wonderful Thanksgiving!  What are your plans for the holiday? 


Thursday, November 14, 2013

Digging for Carrots (& Roasting Them)


 One of my favorite things to grow in the garden is carrots.  Once the seeds are sown you essentially don't have to give the carrots another thought.  The carrots keep so well in the dirt... just as nature intended.  I don't ever worry about harvesting them all at once... I just grab a few here and there as I need them for cooking. 


 But this afternoon was warmer than it has been and Rosetta and I decided it would be a perfect time to get out and dig up several of the carrots for our supper. 


Although somebody kept getting distracted by feeding and playing with the chickens (smile).


 The first year we grew carrots and I pulled one out of the ground, I stared at it for a long time wondering why it didn't look like the carrots you buy at the grocery store.  Pretty they may not be, but they do taste wonderful and so fresh. 


These small round carrots are supposed to look like this, believe it or not.  The (heirloom) seed company included a free packet and I believe they are called Parisienne carrots.  


 My very favorite way to eat vegetables, particularly in the fall and winter, is by roasting them in the oven.  You likely may already roast your vegetables, but I only learned how to roast vegetables in the past few years and I certainly consider it one of the easiest and most delicious ways to cook veggies.  We rarely have any remaining after the meal!  

In the case of carrots, I've roasted them whole, but I actually prefer chopped.  You may prefer yours cut differently, but I like the way they evenly cook and get very tender when they are chopped. 

Preheat the oven to 425 degrees.  Once the vegetables are cut, I put them in a pan or a baking dish.  I like them to lay in a single layer so that they all cook evenly.  In this case, I put the carrots in a 9x18 baking dish.  Then I simply coat the veggies in extra virgin olive oil (for the carrots I used about 3 Tbsp) and sprinkle with salt and pepper to taste and some fresh or dried herbs.  Sometimes I'll experiment with different flavors, but for the most part I just use those few simple ingredients.  Then I put the vegetables in the oven and roast until they are finished.  You will know how you like them... whether it's a little crisp or plenty tender and even a little browned (like us).  I cooked these carrots for about 45 minutes, but I keep an eye on them and stir about every 15 minutes.
 

 The carrots from our garden taste a little different than store-bought as well... the flavor is much stronger and even a little earthy.  The carrots are a wonderful late fall garden treat and I love the fact that my girls (and even myself) are learning a little of where our food comes from. 


P.S.  When roasting vegetables, I typically use more than just one veggie... usually it's a process of gathering what I have and combining everything.  Onions, squash, potatoes, carrots, green beans, okra... use what you have and it will be a perfect side dish no matter the occasion! 
Copyright @ Keeping It Cozy. Blog Design by KotrynaBassDesign