Showing posts with label Sewing Projects. Show all posts

Monday, November 5, 2012

Curtains are Hung!


We have curtains up in the living room!  I do realize that is not a very exciting statement, but I really would rather not mention exactly how long we've had bare windows in our living room.  I put off and put off purchasing fabric to make drapes... I didn't know what to buy, I didn't really want to pay for it, and our living room was still in such a state of disarray from our ceiling renovation that it was kind of a moot point anyway. 


 But now that painting is the only work remaining in the room, I was ready to make a decision and get some drapes hung!  I loved the thought of a pattern but I just could not find the right one.  For one thing, we have a red couch and a red plaid chair, so that limits the color.  Also, the living room flows to so many other rooms in our house that it needed to stay somewhat neutral.  Finally it hit me a couple weeks ago that the same linen I used on our dining room chairs would be perfect.  The fabric is a little pricey, but I do think it's timeless and will coordinate so well with the rest of our home. 


I choose to not purchase drapes pre-made for a few reasons.  The biggest reason is that our ceiling height is not standard, so sizes sold are either too short or too long.  I also love the fact that if you purchase drapery fabric on a bolt, the width (I think about 55") is enough to actually make your drapes usable.  What I mean by that is I can simply pull the drapes so that they cover the entire window when it gets dark out and during the day we don't have any blinds to obstruct the view looking out.


One of my favorite ways to pull a room together is hanging drapes.  My personal preference is to position drapery rods a good distance above the top of the window frame so that it gives the appearance of a tall room.  I also position the rods at least 4" to the side of each window frame so that it maximizes the amount of light coming in. 


In some cases, I think a little pooling is beautiful... that's what I was going for in our dining room where I wanted it to look a little more "formal", but here in the living room I wanted the drapes to simply touch the floor. 


Although progress in our living room has been slow, it's always such a nice feeling to be so close to finished!  The overall color scheme isn't changing, but the improvements made are things that make me appreciate the room so much more.  Hanging curtains is just motivating me to finish up the painting (and that's how I justified hanging them now)!  (smile)

Hope you have a wonderful week!

Thursday, March 22, 2012

Fabric Flower Garland Tutorial


 Earlier this week I shared some spring time decorating in our living room and I promised to share the tutorial for the fabric flower garland I made. 

Are you interested?  If so, let's make some flowers!

SUPPLY LIST:
  • 1 yard of quilting fabric with plenty left over (I wanted some variety, so I purchased 1/4 yard each of four different fabrics)
  • 1/8 yard of heavier fabric, such as drop cloth or felt (to use as backing)
  • Button cover tool set
  • Hot glue gun
  • Twine


Begin by tracing your flower outline onto the fabric.  However many petals your flower has is how many flower shapes you will need cut out.  For example, my flower had 6 petals, so I needed 6 flower shapes cut out total per flower.  For your outline, you could use a flower cookie cutter, an image printed out (like me) or even draw something freehand. 


 Cut out your flower shapes.  This part is a little time consuming, depending of course upon how many flowers you need.  I needed 6 flowers for my garland, so I had to cut out a total of 36 shapes.  


 Of course, I had my helpers along.  We spread a blanket out on the deck in the sunshine and the time passed very quickly!


In addition to the patterned fabric shapes, I also cut out one shape per flower for the backing.  I used drop cloth since I had some on hand, but felt would also work.  For the garland I made, I had a total of 42 flower shapes cut out (6 shapes for the back and 9 shapes of each pattern).


Now we're ready to assemble the flowers.

1.  Fold the shape in half.
2.  Fold it in half again.
3.  Do this for all 6 petals.
4.  Place one of the folded petals onto the backing so that the petals line up.
5.  Do this with each petal, overlapping as you go.
6. Finished and ready to sew!


I sewed a small circle around the center of my flower to secure the petals, but honestly you could probably do this with a hot glue gun if you don't own a sewing machine.


Iron the flower flat.


Now cut a small strip of drop cloth, or whatever backing material you are using, and sew it on the back.  This is what you will string the twine through.  You can tell I didn't care what the back of mine looked like (it was late)... I'm sure yours will look much nicer than this.  (smile)


Almost finished... it's time to cover the buttons.  Have you ever used a button cover tool kit?  I'm probably the only one who hadn't before this, but my mom recently picked up a kit for me, and wow, did I love it.  These buttons were a snap to make.


I not only glued the button onto the flower, but I also glued a small amount between the backing and quilting fabric.  This prevents it from flapping once hung.


Finished!  I created the garland by stringing two strands of twine through the back of each flower, but you could use anything.


I really had fun with this project.  I want to display my garland for a while, so I used colors that would coordinate well with the rest of the living room, but seasonal patterns would sure be fun! 


P.S.  I promised you would have extra fabric... now you have enough to make a super simple silhouette pillow!  (smile)
 
Happy Crafting!


Saturday, March 10, 2012

Painted "Grain Sack" Table Runner

 
When I saw these painted roman shades at Dear Lillie I knew I wanted to make some for our bedroom.  But before I spent the time (and money) making the shades, I wanted to try out the paint technique first.  So I decided to make a table runner for the entryway table in our living room with some leftover drop cloth I had.  Let me show you how... it is so easy!  (I followed this great tutorial.)

SUPPLY LIST:

Drop cloth
Acrylic paint
Foam brush
Tape measure
Pins
Painter's Tape


Begin by cutting your drop cloth fabric to desired measurements (don't forget to about about 1 1/2" to all sides to allow for hemming).  Then pin where you want your stripes.  I wanted my main stripe to be approximately 2" wide, so I measured half the width of my runner, and pinned 1 1/2" on each side of the middle.  (Pin to pin is 3".)  I did this on each end of the runner. 


Using painter's tape, tape from the center of one pin to the center of the other on the opposite end.  (You can see that I held down the drop cloth with the leaf from our table to keep the fabric from moving while I did this.) Be sure the tape is firmly adhered to the fabric.


Now you'll do the same thing for the two small stripes on each side of the wide stripe in the middle.  I wanted these two small stripes to be 1/2" wide, so I pinned 1" from the edge of the tape. 


Once you have everything taped, you are ready to paint! I purchased this acrylic paint at Wal-Mart for $1 and I used a cheap foam brush I already had on hand.  Paint using up and down strokes until all areas between the tape are covered.


 Now let the paint dry.  It will dry very quickly!  


 While I was waiting for the paint to dry, I snapped pictures of this little girl giving her daddy some love before bedtime.  (smile)


Remove the tape and breathe a huge sigh of relief that the painter's tape worked so well!


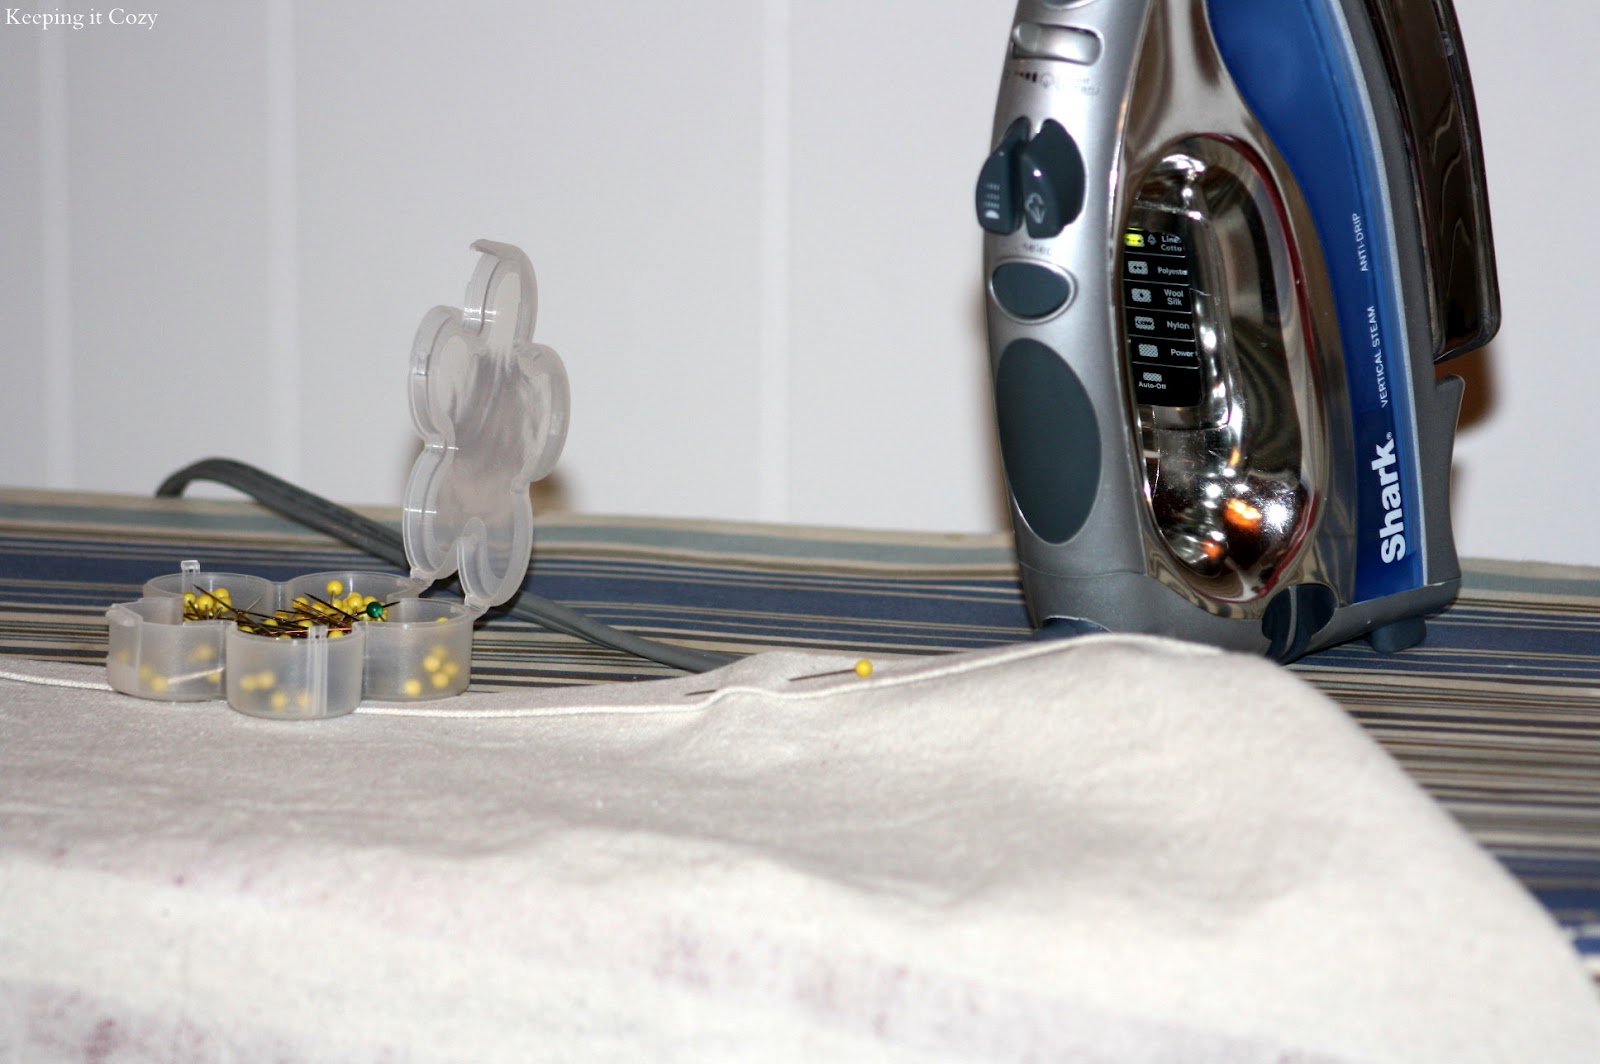
Prepare to hem the sides of the runner by folding the raw edge onto the wrong side of the fabric.  Now fold it over again, iron and pin in place.


I didn't take a picture of this step, but I wanted my corners to be hemmed at a point, so I messed with the fabric until the corners met in the middle and pinned.  (You can tell from the picture above I am such a novice when it comes to sewing!)


Sew all sides and your runner is finished!


I love how this simple runner turned out.  I will be attempting to make the roman shades sometime using this same technique, so stay tuned.  (smile)

Have a wonderful weekend!  

Monday, February 13, 2012

A Valentine Owl Pillow


This year I wanted to do something special for our girls for Valentine's Day.  I've had my eye on some cute owl plushes from Pottery Barn Kids for a while... so they provided the inspiration for this project when I called up my mom and recruited her help to make some Valentine's Day themed owl pillows!  This was such a fun project and only took us about two hours (we each worked on one owl).  Although some basic sewing skills are needed, I am a novice, which means if I can do it, you can too!

SUPPLY LIST:

Items I purchased (for about $12) with plenty left over
  • 1 yard of fabric for the body
  • 1/4 yard each of two fabrics for embellishments and details
  • 1/4 yard of black flannel (or felt)
  • batting  
Items I had on hand
  •  white and pink felt
  • rick rack scraps
  • 1/4 yard of Wonder Under Fusible Web interfacing
  • scissors
  • paper for creating patterns
  • sewing machine, thread and pins

TUTORIAL:

1.  Decide what you want your owl to look like.  Then create a pattern for each owl part on a piece of paper, pin to the fabric and start cutting.  Be sure when cutting around your owl parts that you leave a seam allowance for sewing.  Also, you will want to cut two each of the body, feet and wings since they will be sewn together and stuffed.

NOTE: Before cutting, we attached fusible web interfacing to the wrong sides of the fabric for the eyes, nose and other fabric embellishments so that it was easier to machine applique in place.  If you've never used the fusible web interfacing before, refer to the instructions that come with the product.  You can purchase this by the yard at any fabric store.


2.  Once you have everything cut out, start assembling your owl.  Iron on eyes, nose and any embellishments.  Do a machine satin zig-zag stitch around these.


3.  Now you are ready to assemble your owl.  Sew the two pieces of feet fabric together, right sides together, leaving the back of the foot open.  Clip the seams open between the toes, turn right side out and stuff with batting.  Use pencil or sharp object to push out the fabric to give a sharp finish to the toes.  (It also helps if you can recruit an additional helper at this point... I recruited my husband to be our stuffer - smile.)  Set aside.


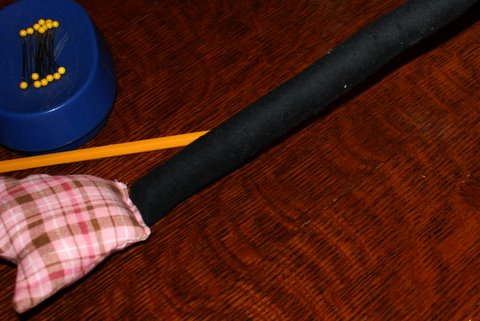
4.  Sew the leg fabric, right sides together, to create a tube.  Turn fabric to right side out, stuff and set aside.


5.  Sew the feet to the legs by placing one end of the stuffed tube inside the opening of the foot and then sew the opening closed.


6.  If you choose to have a two-part front body, like our example, sew the bottom to the top right sides together.  Open seam and iron flat.  Add and sew around any remaining embellishments (like the hearts in our example).


7.  Now you are ready to sew the owl body.  Pin front to back, right sides together and sew, leaving the bottom of the body open.  Turn right side out.  Be sure to use a pencil or sharp object to push out the fabric in the ears so that you end up with tight points.  Stuff the owl.

Sorry, I forgot to take a picture of this step...

8.  Take your legs and place the top of them inside the owl, equally spaced.  Pin both front and back of the opening together and sew closed, leaving very small opening between the legs.  Add more stuffing through this hole until the owl body is stuffed full and firm.  Sew that final opening closed.

  
We're finished!  A fun, inexpensive project... I can't wait to give these to our girls!

Happy Valentine's Day! 


Today I'm linking this project to a Dear Lillie Valentine's Link Party
    Copyright @ Keeping It Cozy. Blog Design by KotrynaBassDesign