After three years of gradually working on our kitchen remodel, we are now so close to being done! I know I gave you a glimpse and briefly mentioned our new cabinetry and countertop - the project is nearly complete and I cannot tell you how much I am enjoying the additional room in our kitchen! In some ways I'm glad our remodel has taken so long, because it literally took Justus and I about that long to figure out how to work with the original footprint in the kitchen and still create additional countertop space.
BEFORE:
I believe this before picture was taken about two days after we moved in. (I'm so thankful for before pictures so I can be reminded of how far we have come!) The kitchen, although adequately sized, was so awkward with two high-traffic doorways and cabinetry had only been added on the far side (not pictured). That left a good amount of space empty, although it couldn't be fully utilized without blocking the doorways.
AFTER:
Building a cabinet for our refrigerator was a major improvement and when Justus built that, it was with the intention of using it to add new cabinetry and countertop space on that wall. Now it seems so simple, but we puzzled over how to work with the refrigerator, doorways and window for a long time.
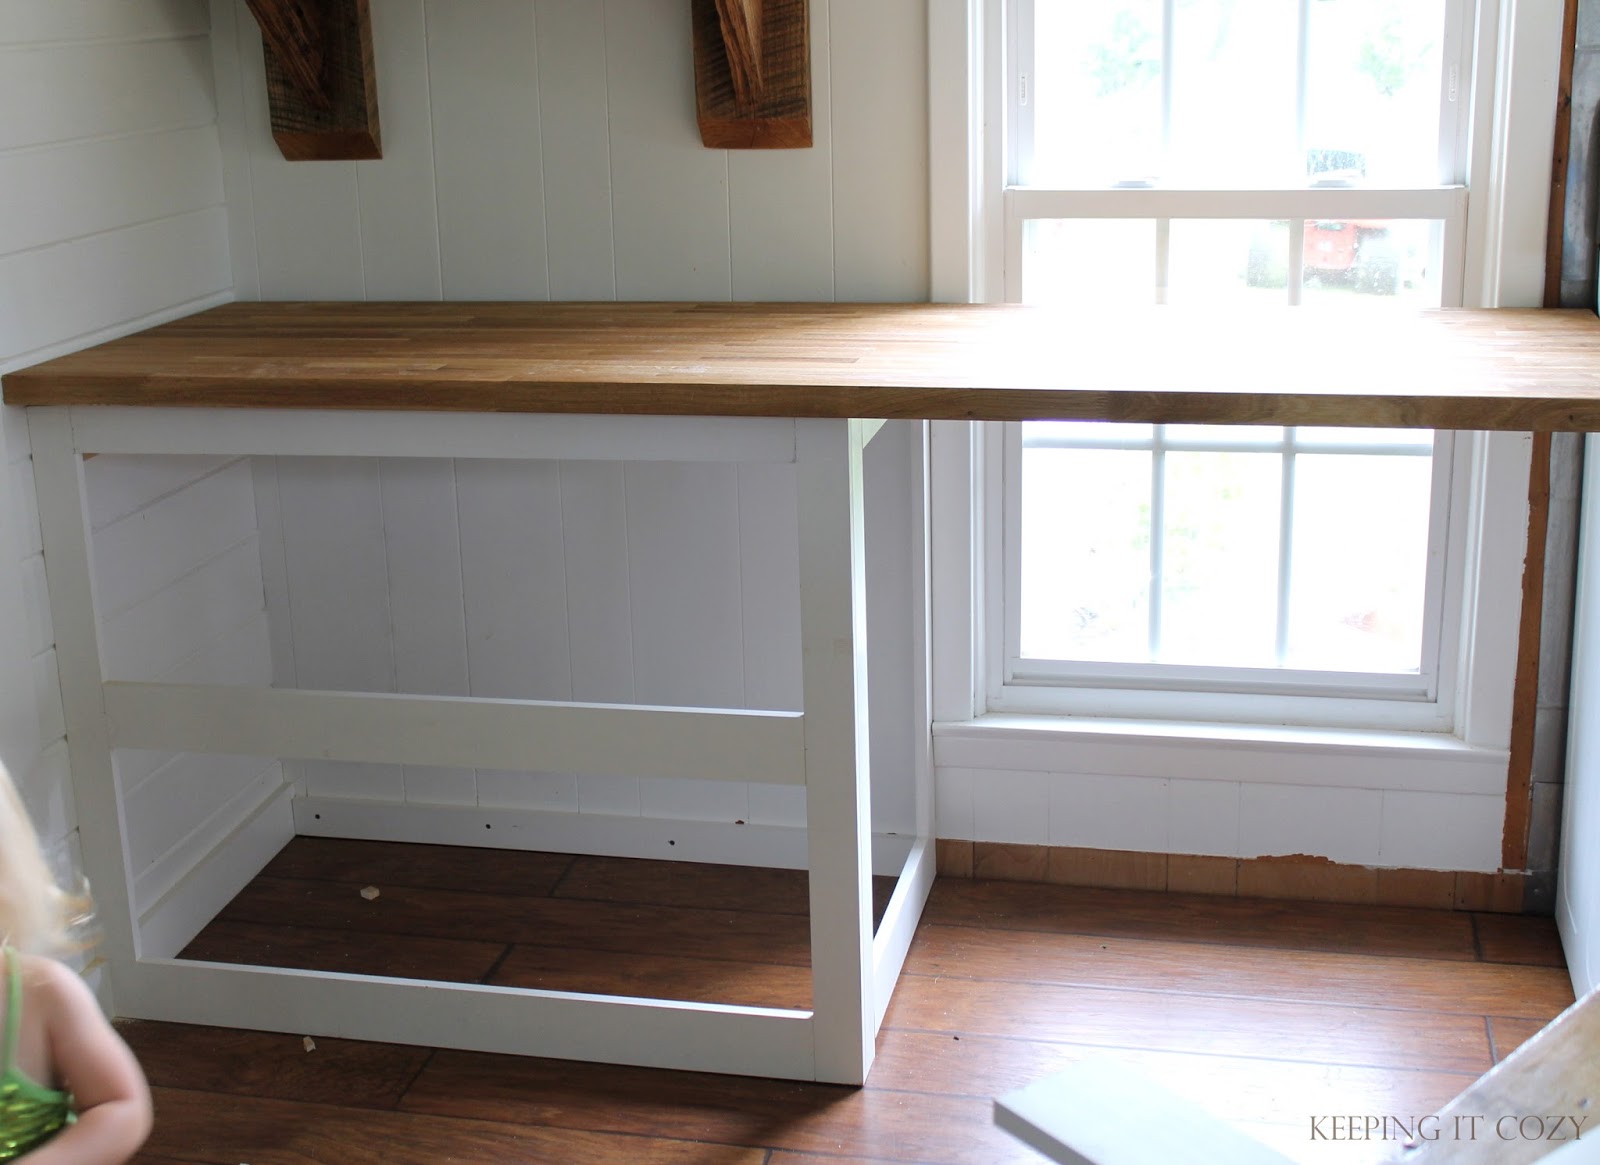
Justus started by framing in the new cabinetry. He used a kreg jig to join the wood and prevent nail holes from showing on the outside of the cabinet.
To add a functional amount of countertop to this wall, we opted to cover the window with countertop, but leave underneath open so that we could still let all that wonderful light in. That meant framing in beside the right of the window next to the stove area too so that it created a well proportioned unit and provided support for the heavy wood countertop.
Once the framing was complete, Justus added shelving and siding with pine planks.
Here is a picture of what the unit looks like underneath the window. I love how Justus added the side supports and finished the look with the planking, which I painted white. Eventually we'll add a stool or bench here.
I really wanted the lower cabinet to be left open with shelving. I loved the idea of having well used items handy and also bringing some additional color and interest into our very white kitchen.

I had a really difficult time figuring out what to put in the shelves though! More than anything, I wanted this area to be very functional, not just pretty. I remember when we moved into our house, my mother-in-law came out and helped me unpack our kitchen and dining room. Here we were with enough contents to fill cabinet space twice of what we had... I ended up getting rid of so many things and storing other items away that then ended up rarely getting used. In the end, I moved my cookbooks to the bottom shelf and used the milk crate to store dish towels. (The shelves are so deep I had enough room to store infrequently used items behind the crate.) On the top shelf I put all our everyday Fiestaware serving pieces where they are easy to grab and use. Then I went through the entire kitchen, cleaning, organizing and ending up with so much extra space - too fun!

After Justus finished this project, I hesitated in even asking him if there was a way to add an electrical outlet on this wall, but I think he must have known how badly I wanted a little baking area (smile). He added an outlet on the wall of the refrigerator cabinet so that I can now leave my mixer out and do all my baking here. Oh, it's wonderful not having to dig it out of the cabinet every time I want to use it!
After moving the cookbooks and adding blue dishes underneath, I then focused on bringing in a little more blue accents on the upper
reclaimed wood shelves. It actually started to remind me a little of the kitchen in our previous home, where I decorated with so much blue! I remember in my before-marriage days when I dreamed of having a blue kitchen (smile).
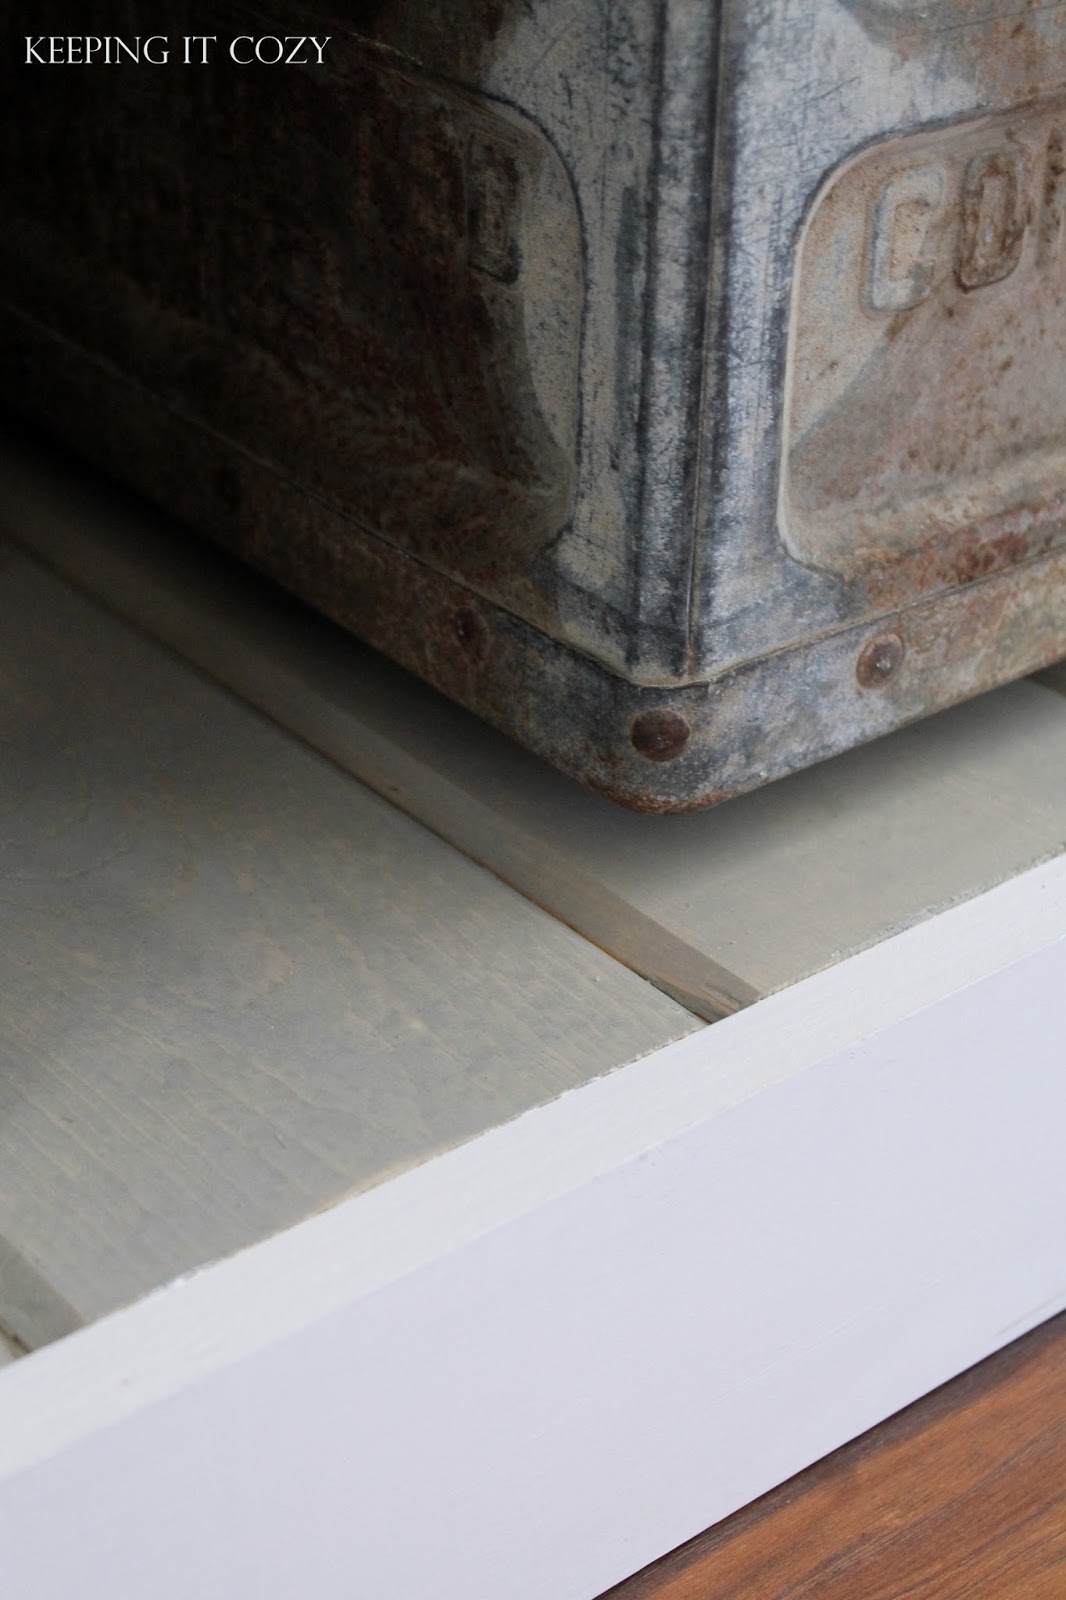
Instead of painting the interior shelf planking, I stained it. The reason I didn't paint it is because I didn't want to have to worry about scratching the paint when I frequently removed items. But I didn't want to use a dark stain - I ended up using the
sunbleached wood stain that we used on our
porch furniture. I know it's kind of a different look, but I like the color and not having to worry about it. We added a coat of poly to protect from water as well.
A closer look at the sides of the cabinet... I'm in love with this pine planking. This also happens to be Huck's favorite napping spot, as you can see.
I was definitely getting some looks from him by disturbing his nap time!
Thanks for listening to me ramble on... I hope you are having a great week!
Update: To see the finished kitchen, click
here.